PCIe Bracket Assembly#
The PCIe Host host has a 3D printed front panel/bracket. This exposes the PCIe Host IO and allows the device to be mounted in a standard PCIe slot.
Materials#
Part |
Qty |
Part No. |
Notes |
|---|---|---|---|
3D printed bracket |
1 |
Sintered Nylon. Glass-bead reinforced is even better |
|
3mm light pipe |
2 |
PLPC3-125 |
|
5mm RGB LED |
2 |
HV-5RGB60 |
|
Ribbon cable |
0.5 |
A08SUR08SUR32W203A |
Cut into two 8mm long pieces |
Heat shrink |
8 segments, ~1.5mm ID before shrinking |
- Tools and consumables
5-minute epoxy
Soldering iron
Heat gun
Insert the PCIe Host Module#
Get the required parts.
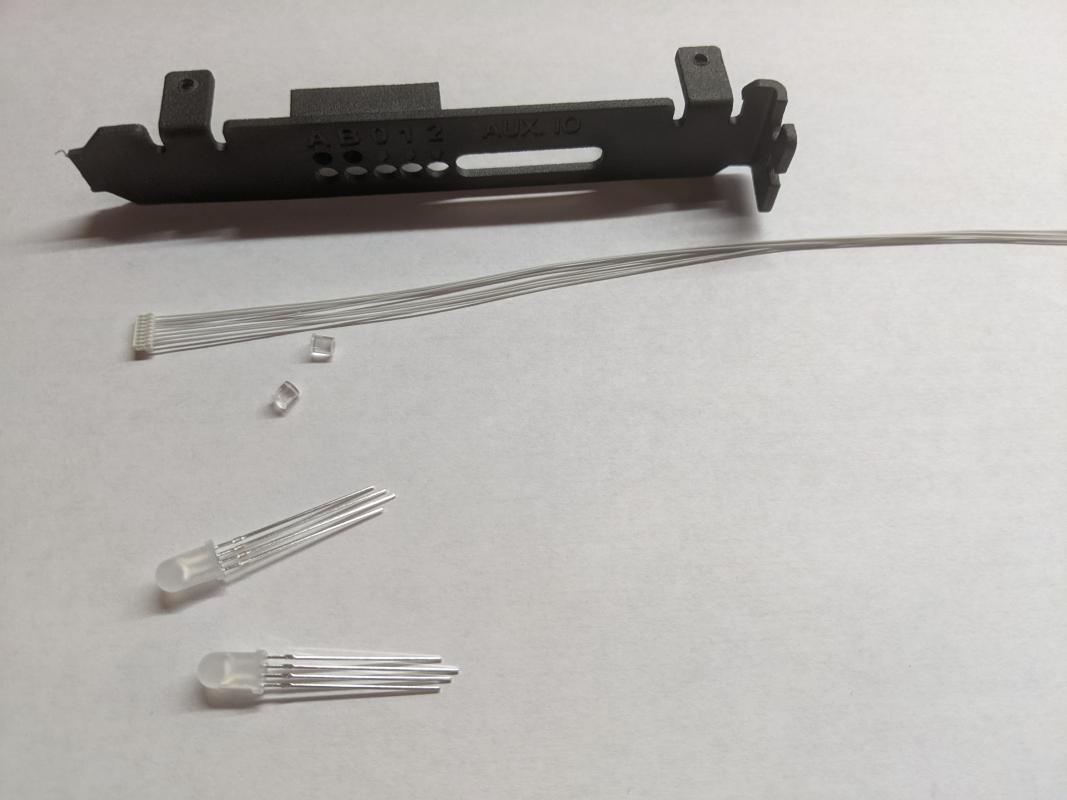
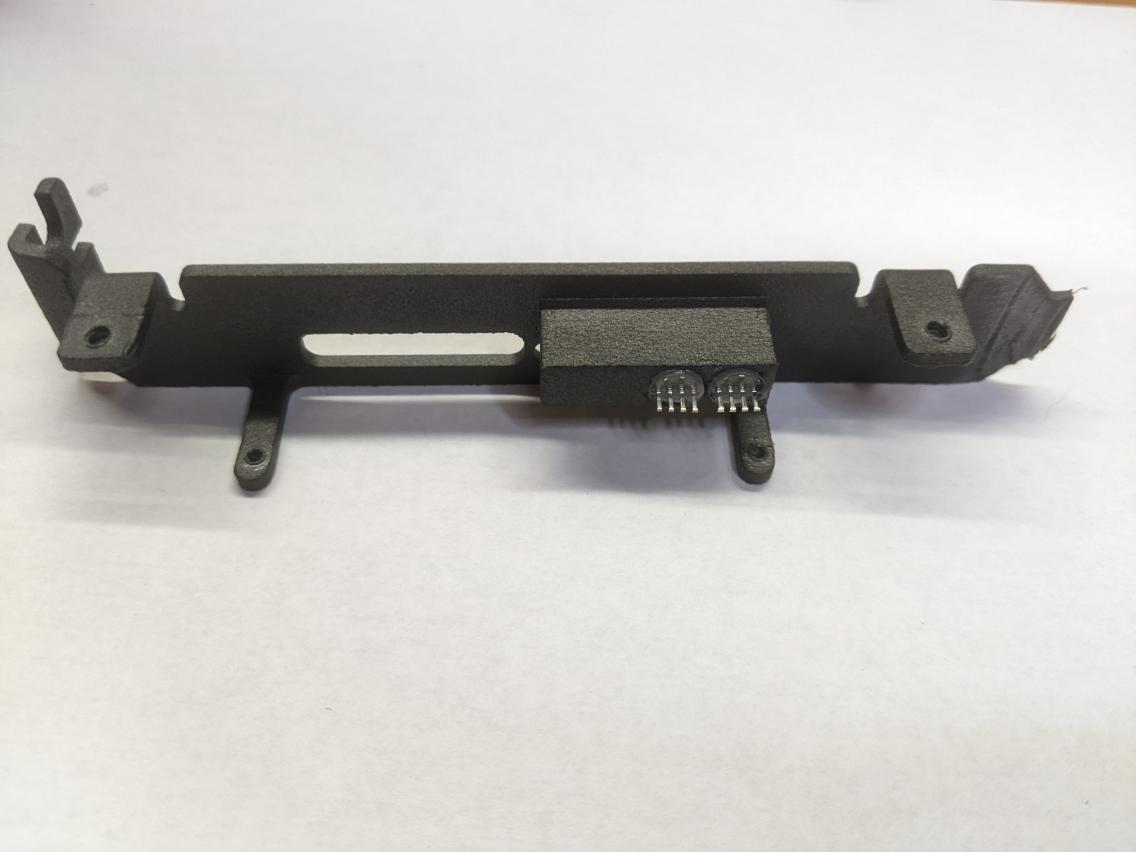
Coat the inside of the light-pipe holes and LED sockets with a very small amount of 5 minute epoxy. Insert the light pipes from the front until flush with the face of the bracket. Insert the LEDs from the back (the holes are keyed).
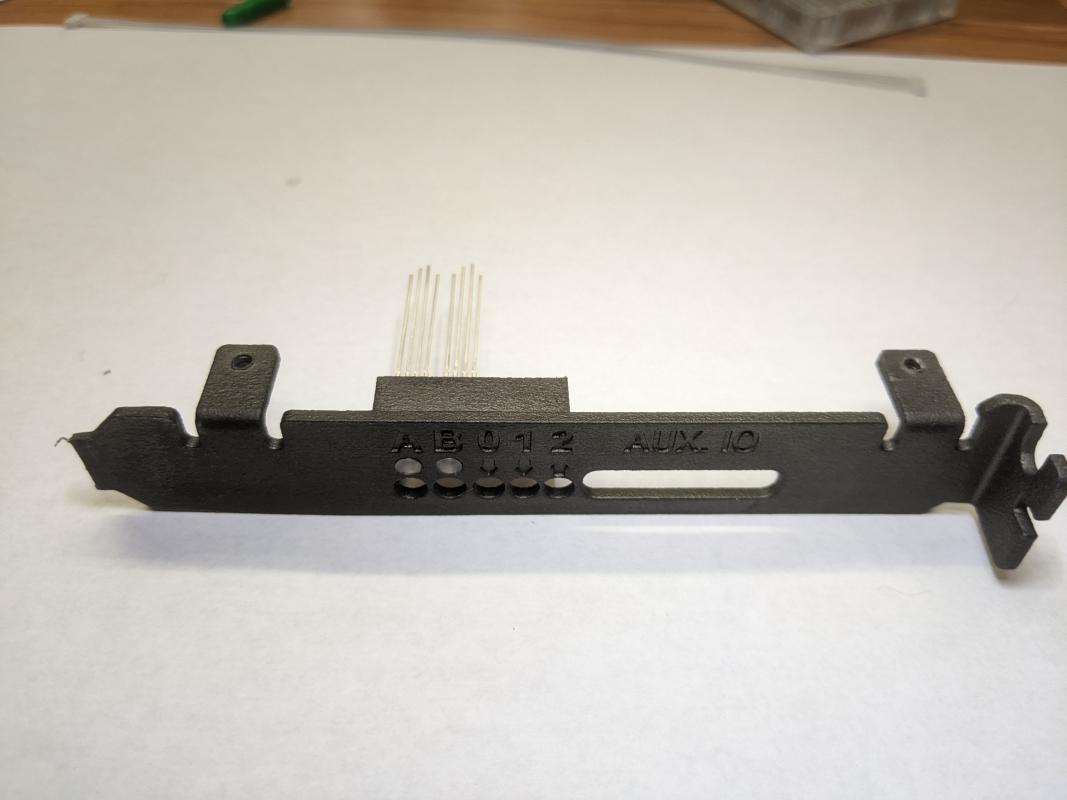
Cut the LED leads to about 4 mm in length
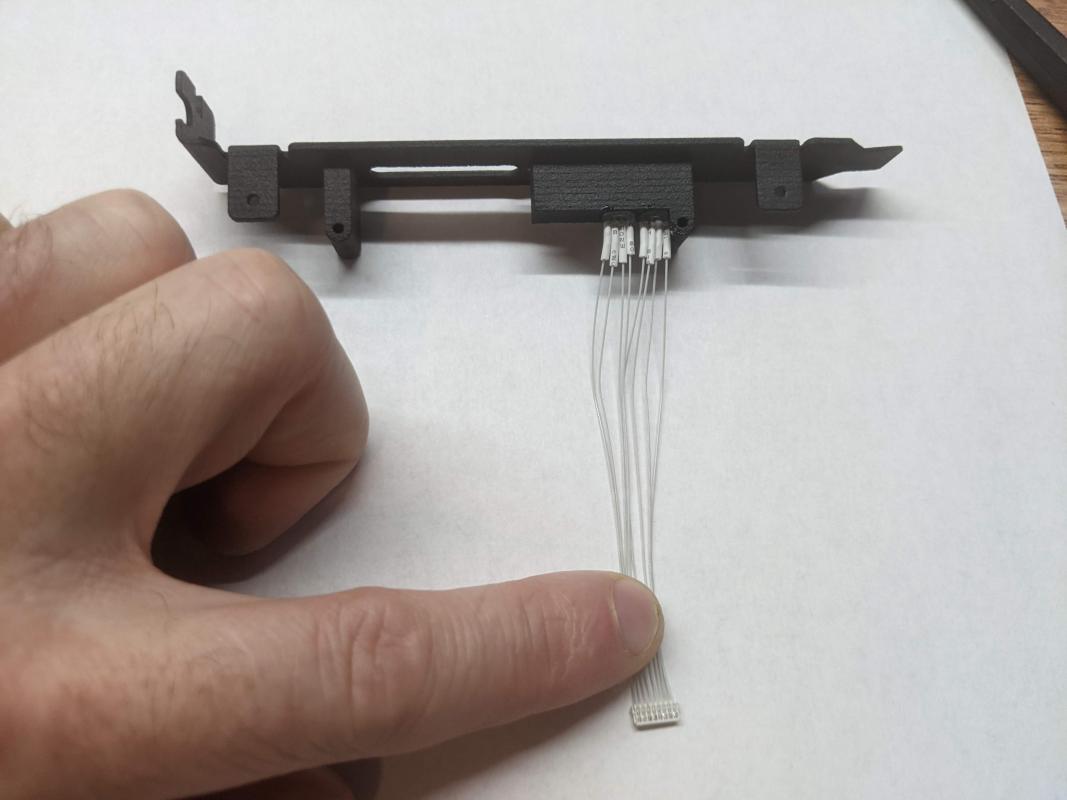
Cut the ribbon cable in to two 8 cm segments. Strip the wires on one of them. Slip heat shrink segments over each of the 8 wires.

Solder the wires to the LED leads in the orientation shown below. Note the plug orientation. Slip the tube segments over the solder joint and shrink with heat gun.